
I am a Zivver admin
Configure and manage Zivver
Secure eSignatures Installation Manual
Introduction
With Zivver Secure eSignatures, you can easily prepare and sign documents directly from your inbox. Follow these steps to set up Zivver Secure eSignatures.
Estimated time: 5 minutes
This guide explains how to install Zivver Secure eSignatures via the Zivver Office plugin, that automatically checks for updates.
For larger organizations with a centrally managed rollout of the Office plugin, administrators can check if the installed version is at least the version listed below. If not, contact your Customer Success Manager or create a support ticket to receive the latest installation package.
Step 1: Check if the Zivver Office Plugin is installed
- Open the Control panel and go to Programs > Programs and Features.
- Look for Zivver Office Plugin in the list.
- If found, continue with Step 2.
- If not found, download the latest version of the Zivver Office Plugin.
- Follow the installation instructions.
- After installation, continue with Step 4.
Step 2: Check if your Zivver Office Plugin is up to date
The latest version of the plugin is v6.10.2.
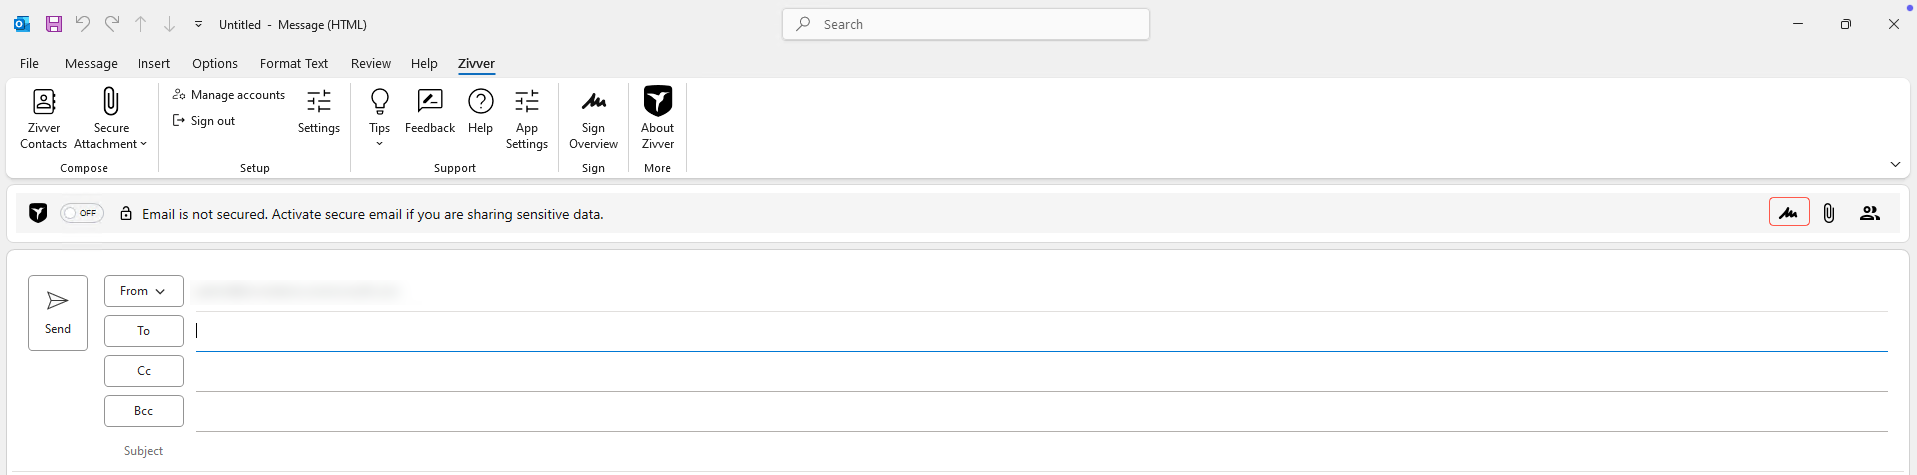
Open Outlook.
Go to the Zivver tab at the top and click on
 About Zivver.

Find the Zivver Office Plug-in Version.
Compare your version with the one mentioned above:
Step 3: Update the Zivver Office Plugin
- Remove the old plugin:
- Open the Control panel and go to Programs > Programs and Features.
- Find Zivver Office Plugin and double-click to uninstall it.
- Download the latest version of the Zivver Office Plugin.
- Install the new version by following the installation instructions.
- Now continue with Step 4 to enable Secure eSignatures.
Step 4: Enable Zivver Secure eSignatures
- Download the registry key.
- Save the .reg file to your computer.
- Double-click the file and follow the prompts.
- Restart Outlook once the installation is complete.
You’re all set! Zivver Secure eSignatures is now active. Explore the features in the screenshots below to get started, and refer to the online documentation for more information.

Does your organization have multiple employees?
Does your organization have multiple employees that will use Zivver Secure eSignatures? If so, repeat these steps on each device for all affected employees.